系统环境准备
- 安装git和lfs,https://git-scm.com/downloads
- Anaconda环境安装,https://www.anaconda.com/download
- 系统环境变量Path添加配置
- D:\Projects_Test\Anaconda\Scripts
- D:\Projects_Test\Anaconda
- 系统环境变量Path添加配置
- 安装N卡驱动和CUDA Toolkit安装 https://developer.nvidia.com/cuda-downloads,并查看cuda版本,确保和项目环境匹配
$ nvidia-smi
$ nvcc --version
软件虚拟环境准备
新建conda虚拟环境
# 配置清华镜像源
$ pip config set global.index-url https://mirrors.cloud.tencent.com/pypi/simple/
# 拉取项目
$ git clone https://github.com/chatchat-space/Langchain-Chatchat.git
$ cd Langchain-Chatchat
# 新建虚拟环境并激活
$ conda create -n LangChain_ChatGLM python=3.11
$ conda activate LangChain_ChatGLM
# 安装依赖
$ pip install -r requirements.txt
$ pip install -r requirements_api.txt
$ pip install -r requirements_webui.txt
配置
生成配置文件
$ python copy_config_example.py
修改配置
/configs/model_config.py# 离线模型路径
MODEL_ROOT_PATH = "D:\Projects_Test\ChatGLM\Langchain-Chatchat"
# 选用的 Embedding 名称
EMBEDDING_MODEL = "bge-large-zh"
MODEL_PATH = {
"embed_model": {
...
"bge-large-zh": "my_models/bge-large-zh",
...
},
"llm_model": {
...
"chatglm3-6b": "my_models/chatglm3-6b",
...
}
}如想外部能访问,可修改
/configs/server_config.py# webui.py server
WEBUI_SERVER = {
"host": "0.0.0.0",
"port": 8501,
}
# api.py server
API_SERVER = {
"host": "0.0.0.0",
"port": 7861,
}
运行
初始化知识库
$ python init_database.py --recreate-vs

# 如果报错 no module named “pwd” ,需要降低`langchain-community`版本
$ pip install langchain-community==0.0.19
启动
$ python startup.py -a

# 报错 Torch not compiled with CUDA enabled  查看 https://pytorch.org/get-started/previous-versions/
$ conda install pytorch==2.2.0 torchvision==0.17.0 torchaudio==2.2.0 pytorch-cuda=12.1 -c pytorch -c nvidia
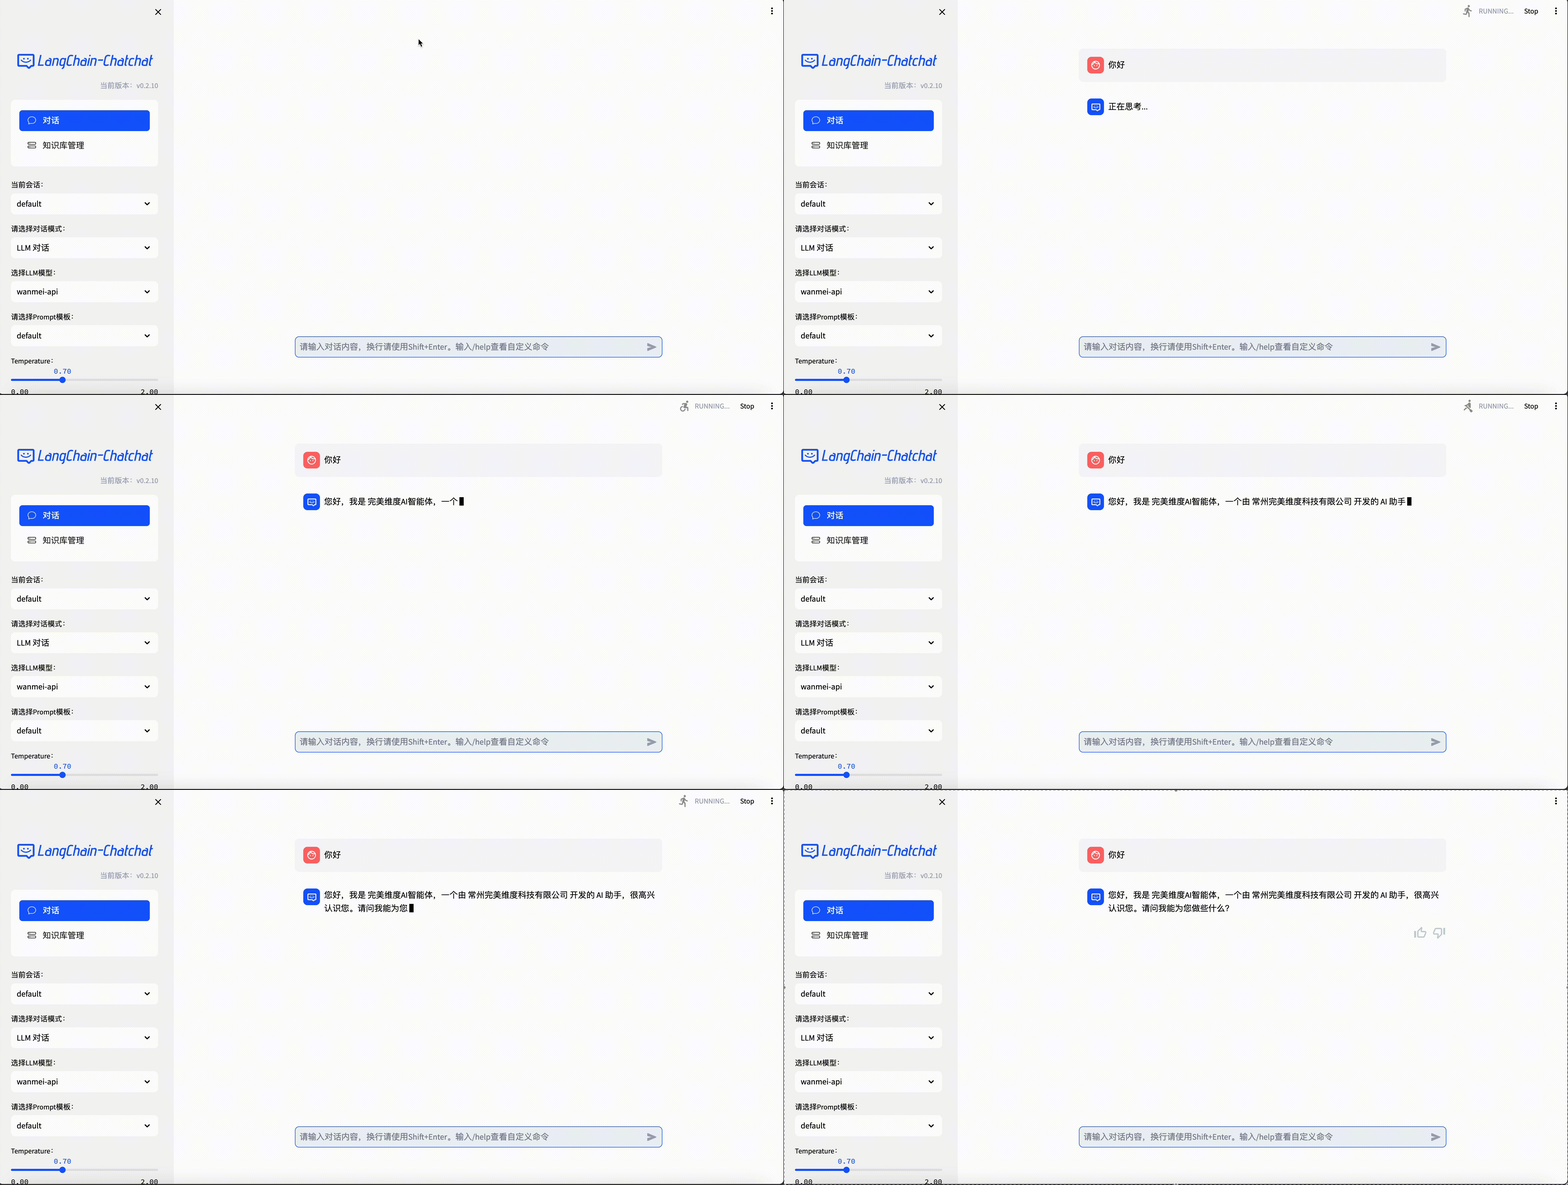
效果
